I’ve been wanting to try the famous Matilda chocolate cake for ages! Inspired by that iconic movie scene where Bruce Bogtrotter devours a massive chocolate cake, I decided to give it a shot in my own kitchen. Let me tell you, it was a ride full of challenges as I watched the cake come to life.
If you’ve ever thought about trying to make this cake yourself, stick around for my step-by-step guide and some honest tips from my experience.
What do you need for this cake?
First things first, you need to gather all the ingredients. Here’s what you’ll need:
Cake
- 2 cups all-purpose flour
- 2 cups granulated sugar
- 3/4 cup unsweetened cocoa powder
- 2 teaspoons baking powder
- 1 1/2 teaspoons baking soda
- 1 teaspoon salt
- 1 cup milk
- 1/2 cup vegetable oil
- 2 large eggs
- 2 teaspoons vanilla extract
- 1 cup boiling water
Frosting
- 1 cup unsalted butter (softened)
- 1 1/2 cups unsweetened cocoa powder
- 5 cups powdered sugar
- 1/2 cup milk
- 2 teaspoons vanilla extract
- 1/2 teaspoon salt
The baking process
Start by preheating your oven to 350°F (175°C). Proper oven temperature is crucial for even baking. Grease and flour two 9-inch round baking pans. This will prevent the cake from sticking and make for an easier cleanup. Ensuring the pans are properly prepared will help the cakes release effortlessly once baked.
Mix dry ingredients
In a large bowl, combine the flour, sugar, cocoa powder, baking powder, baking soda, and salt. Mixing the dry ingredients thoroughly ensures that the leavening agents are evenly distributed. Use a whisk to ensure there are no lumps.
Add wet ingredients
Add the milk, vegetable oil, eggs, and vanilla extract to the dry mixture. Incorporating the wet ingredients gradually helps in achieving a uniform batter. Beat on medium speed with an electric mixer until smooth and well combined. The mixture should be free of any lumps and have a consistent texture.
Incorporate boiling water
Slowly add the boiling water to the batter, mixing continuously. Adding boiling water helps in dissolving the cocoa, enhancing the chocolate flavor. The batter will be thin, but this is what makes the cake so moist and fudgy.
Bake the cake
Pour the batter evenly into the prepared pans. Distributing the batter equally ensures even baking of both layers. Bake in the preheated oven for 30-35 minutes, or until a toothpick inserted into the center comes out clean.
Allow the cakes to cool in the pans for 10 minutes before transferring them to a wire rack to cool completely. Cooling on a wire rack prevents the cakes from becoming soggy.
Making the frosting
In a large bowl, beat the softened butter with an electric mixer until it is light and fluffy. Creaming the butter well is crucial for a smooth frosting. This step ensures that your frosting will be creamy and easy to spread.
Add cocoa
Gradually add the cocoa powder, beating until it is well incorporated and smooth. Adding cocoa in increments prevents lumps from forming. Make sure to scrape down the sides of the bowl to mix evenly.
Mix in the sugar and milk
Add the powdered sugar and milk alternately to the butter mixture. This method ensures that the frosting stays smooth and doesn’t become too thick. Beat on low speed until fully combined. Stir in the vanilla extract and salt to enhance the flavor.
Beat until fluffy
Increase the mixer speed to high and beat the frosting for about 5 minutes, or until it is light and fluffy. This step incorporates air, making the frosting light and airy. If the frosting is too thick, you can add a bit more milk, one tablespoon at a time, until you reach the desired consistency. Adjusting the consistency ensures the frosting spreads easily.
Assembling the cake
Step 1: Level the cakes
Once the cakes are completely cool, use a serrated knife to level the tops if necessary. This creates a flat surface for stacking. This will ensure that your cake layers stack evenly. Even layers make the cake look professional and neat.
Step 2: Apply the first layer of frosting
Place one cake layer on a serving plate or cake stand. A cake stand makes it easier to frost all sides evenly. Spread a generous amount of frosting over the top, smoothing it out with a spatula. Ensure the frosting layer is even and covers the entire surface.
Step 3: Add the second layer
Carefully place the second cake layer on top of the first. Aligning the layers properly ensures the cake remains stable. Press down gently to ensure it adheres. A gentle press helps the layers stick together without squeezing out the frosting.
Step 4: Frost the top and sides
Using the remaining frosting, cover the top and sides of the cake. Start from the top and work your way down for an even coat. Smooth out the frosting with a spatula for a clean, even finish.
Step 5: Add finishing touches
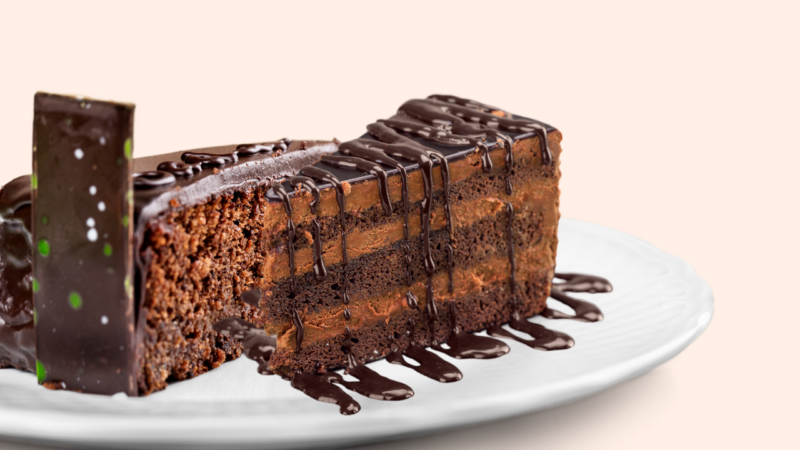
For an extra touch of magic, you can add chocolate shavings, sprinkles, or a dusting of cocoa powder to the top of the cake.
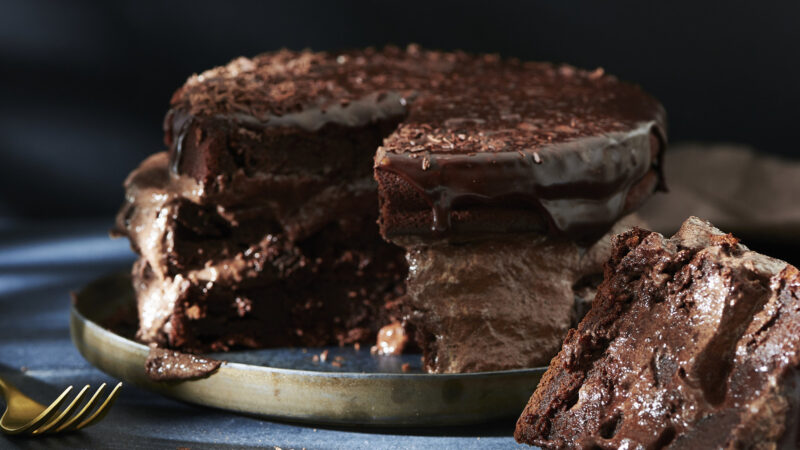
The moment of truth!
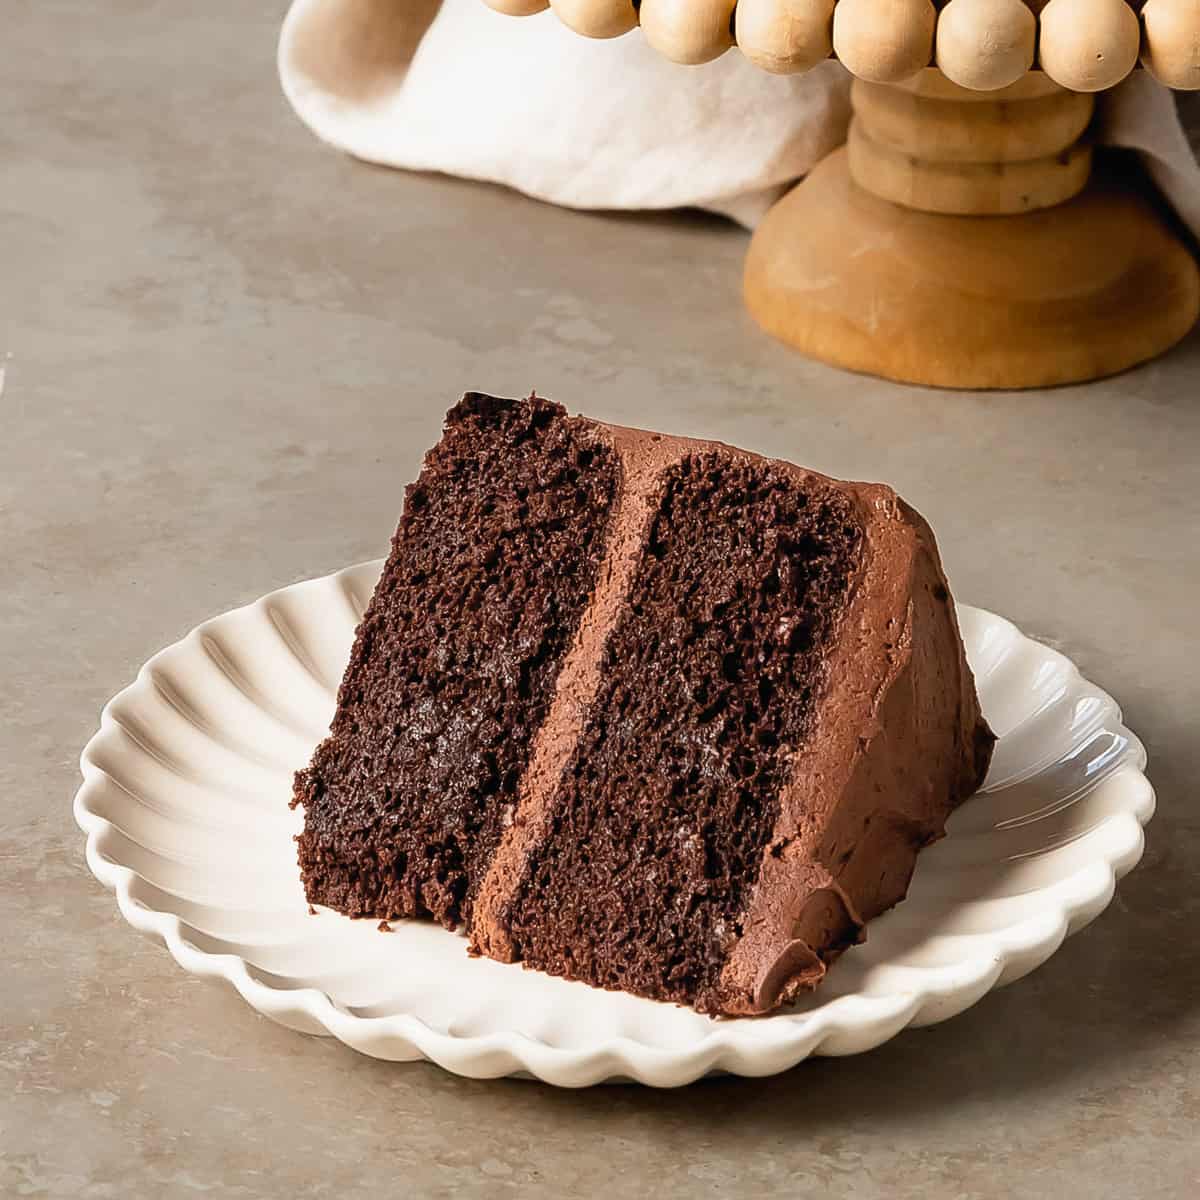
The cake was exactly what I had hoped for, maybe even better – layers of moist chocolate cake and creamy frosting. I was so happy because the taste brought back memories of watching “Matilda” as a kid. Sharing this moment with my family made it even more special.
In summary
Whether you’re a pro in the kitchen or just starting out, this cake is sure to make you happy and proud. So, grab your apron, gather your ingredients, and start baking. Trust me, you won’t regret it.
Hi, I’m Lili Harmon. Baking and making desserts are my passion. I love spending time in the kitchen, experimenting with new recipes, and perfecting old favorites. Whether it’s whipping up a batch of cookies, crafting a delicate pastry, or creating a decadent cake, the kitchen is my happy place. That’s why I wanted to share some of my best recipes with you.