Baking is an art that blends creativity with precision, culminating in delightful confections that delight both the palate and the eyes. One crucial element in this process is the art of frosting, a skill that transforms a basic sponge into a masterpiece.
In this guide, we’ll explore the different frosting types – each with its unique characteristics and uses – and provide practical tips and techniques to help you achieve that perfect finish.
What Tools You Need?
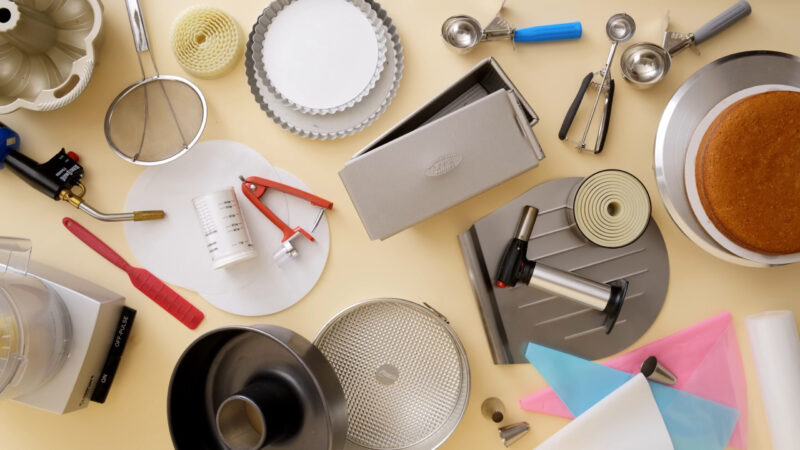
When it comes to tools, a few essentials are a must-have in your baking arsenal. A spatula, for instance, is indispensable for smoothly applying and spreading frosting. A turntable can be a game-changer, offering ease of access and uniformity in application.
For more intricate designs, piping bags with various nozzles offer a range of patterns and styles. As for ingredients, they vary based on the type of frosting you intend to prepare.
The basics usually include butter, powdered sugar, cream, and flavorings like vanilla or cocoa. Each ingredient should be chosen carefully for its quality, as this directly affects the taste and consistency of your frosting. The main focus is on standard options that are used for cakes that can be frozen, such as ice-cream and similar.
| Tools | Description |
|---|---|
| Spatula | Used for applying and smoothing frosting evenly |
| Turntable | A rotating base that aids in even application |
| Piping Bags | Essential for decorative work and intricate designs |
| Nozzles | Various shapes for different piping styles and patterns |
| Ingredients | Description |
| Butter | A base ingredient for many frosting types, adding richness |
| Powdered Sugar | Provides sweetness and structure |
| Cream | Used to adjust consistency and add creaminess |
| Flavorings | Vanilla, cocoa, etc., for varied flavors |
Simple putting a cake in a freezer won’t be enough, which is the main reason why you should get all of these essentials.
Basic Techniques for Frosting
It may sound as a quite simple process, but certain tips will help you ensure the best results.
Preparing the Base:
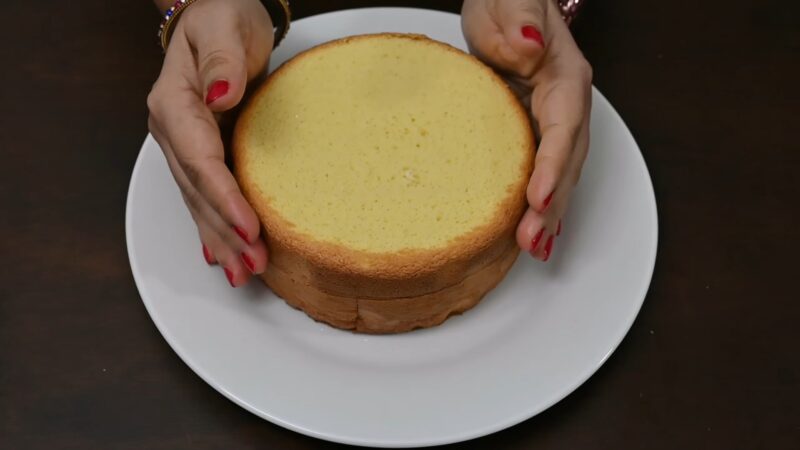
- Begin by ensuring your base is completely cooled. Applying frosting to a warm base can cause it to melt or become uneven.
- If necessary, level it by trimming the top to create a flat surface. This aids in even application and stability.
Applying a Crumb Coat:
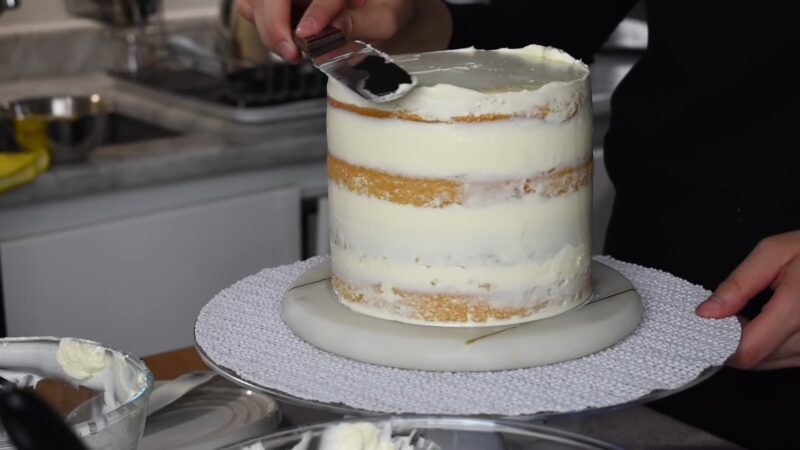
- The crumb coat acts as a base layer, designed to seal in crumbs.
- Use a thin layer of frosting, spreading it evenly over the entire surface. This layer doesn’t have to be perfect; it’s primarily functional.
- Allow the crumb coat to set, ideally chilling it in the refrigerator for about 30 minutes. This step is crucial for a clean final layer.
Achieving Smooth Frosting:
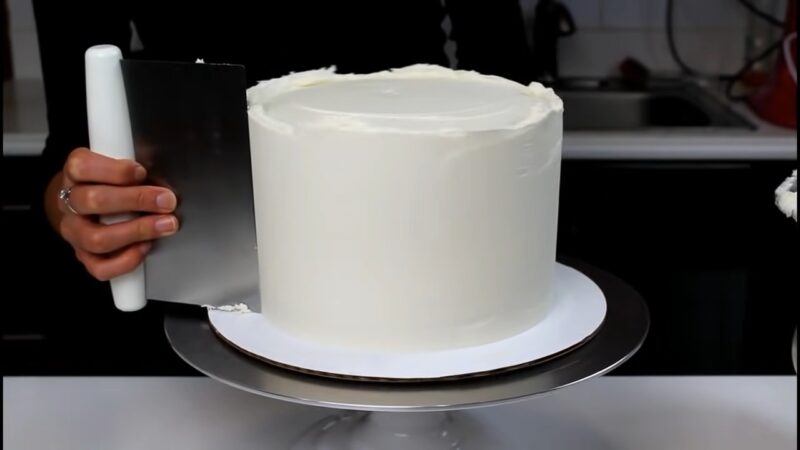
- After the crumb coat sets, apply the final layer. Start with a generous amount on top, spreading it outwards and down the sides.
- Use a spatula or bench scraper to smooth out the frosting. Holding the tool at a slight angle can help achieve a smoother finish.
- Rotate the turntable as you work, maintaining a consistent pressure and angle.
- For a perfectly smooth finish, dip your spatula in hot water, dry it, and then gently glide it over the frosting.
Adding Texture:
- Textured effects can be created using various tools like a spatula, fork, or even a piping bag.
- Techniques like swirls, swoops, or ridges can be made with simple wrist movements.
- Experiment with different tools to create unique textures that add character and visual interest.
Finishing Touches:
- Once you’re satisfied with the texture and smoothness, you can add final touches like piped borders or sprinkles.
- Remember, less is often more. Simple, clean finishes often look the most professional.
Different Types of Frosting
When it comes to frosting, variety is key to catering to different tastes and cake styles. Here are some of the most popular types of frosting, along with tips and recipes for each:
Buttercream: Buttercream is a classic and versatile choice for frosting cakes. It’s made using a combination of butter, powdered sugar, and flavorings like vanilla extract. Here’s a basic buttercream recipe:
- Ingredients: 1 cup of softened butter, 3-4 cups of powdered sugar, a pinch of salt, 2 teaspoons of vanilla extract, and milk or cream to adjust consistency.
- Instructions: Beat the softened butter until creamy, then gradually add the powdered sugar, salt, and vanilla extract. If the frosting is too thick, add milk or cream until it reaches your desired consistency.
Cream Cheese Frosting: Cream cheese frosting is beloved for its tangy flavor and creamy texture. It pairs wonderfully with carrot cakes and red velvet cakes. Here’s a simple cream cheese frosting recipe:
- Ingredients: 8 oz of softened cream cheese, 1/2 cup of softened butter, 4 cups of powdered sugar, and 2 teaspoons of vanilla extract.
- Instructions: Beat the cream cheese and butter until smooth, then add the powdered sugar and vanilla extract. Mix until well combined.
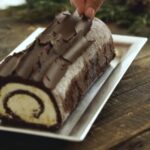
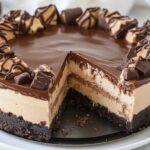
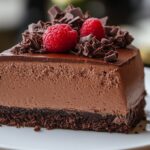
Ganache: Ganache is a glossy and decadent frosting made from chocolate and cream. It’s perfect for a rich and indulgent cake. Here’s how to make chocolate ganache:
- Ingredients: 8 oz of chocolate (semi-sweet or dark), 1 cup of heavy cream, and 2 tablespoons of butter.
- Instructions: Heat the cream until it’s hot but not boiling, then pour it over the chopped chocolate and butter. Stir until smooth and glossy.
Fondant: Fondant is a rolled icing that provides a smooth and polished finish to cakes. It’s often used for elaborate cake designs. While you can buy pre-made fondant, you can also make it from scratch using marshmallows and powdered sugar.
Decorative Techniques
Once you’ve chosen your frosting type, it’s time to get creative with decorative techniques. Transforming a frosted cake into a work of art requires skill and imagination. Here are some tips and techniques to help you achieve stunning cake decorations:
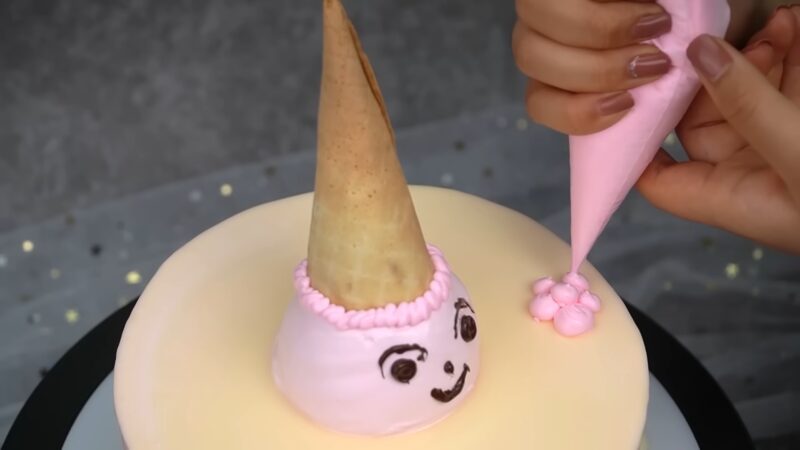
- Piping Bags and Nozzles: Piping bags and various nozzles are essential tools for creating intricate designs on cakes. Different nozzles produce different effects, from simple lines to intricate flowers. Experiment with different nozzle shapes and sizes to achieve your desired look.
- Creating Flowers and Borders: With the right piping tips, you can create beautiful floral designs and decorative borders. For flowers, start with a central dot and pipe petals around it. Borders can be as simple as zigzags or scallops, or more elaborate designs like rosettes.
- Using Fondant: Fondant is a versatile medium for creating intricate cake decorations. Roll it out and use cookie cutters to make shapes, or sculpt it by hand to create 3D elements. Fondant can be colored, painted, and even airbrushed to achieve the desired effect.
FAQs
Can I use margarine instead of butter in buttercream frosting?
Yes, you can substitute margarine for butter in buttercream frosting, but keep in mind that it may affect the flavor and texture. Butter provides a richer taste, while margarine can result in a slightly different consistency.
Is it possible to freeze a cake with cream cheese frosting?
Yes, you can freeze a cake with cream cheese frosting, but it’s important to do so correctly. Wrap the cake tightly in plastic wrap and aluminum foil to prevent freezer burn. Thaw it in the refrigerator to maintain the frosting’s texture.
Can I color white chocolate ganache for decorative purposes?
Yes, you can color white chocolate ganache using gel food coloring. Be sure to add the coloring after the ganache has been prepared and is at the right consistency. Mix it well until you achieve the desired color.
How can I prevent air bubbles when using a piping bag for cake decoration?
To avoid air bubbles in your piping bag, make sure to fill it carefully, pushing the frosting down and eliminating any trapped air. Squeezing out a small amount of frosting before decorating can also help expel air and ensure smooth piping.
Last Words
Frosting a cake is not just a culinary task; it’s an art form that allows you to express your creativity and add that extra layer of flavor and visual appeal to your baked creations. Remember, practice makes perfect, so don’t be discouraged by early attempts.
Hi, I’m Dean Terry, and cakes are my life! I’ve spent over a decade perfecting the art of creating cakes that not only look incredible but taste unforgettable. What started as a hobby in my own kitchen quickly turned into a full-on passion, and now I get to craft one-of-a-kind cakes for weddings, birthdays, and big celebrations.
For me, it’s all about the details—whether I’m designing an elegant buttercream finish or a crazy multi-tiered cake with wild designs, I make sure each cake tells a story. I’m always experimenting with flavors and techniques, because why settle for the ordinary when you can create something extraordinary?
When I’m not up to my elbows in frosting, you’ll probably find me teaching others how to bake or dreaming up my next big cake challenge. If there’s one thing I believe, it’s that every great celebration deserves a cake that’s as special as the moment itself!