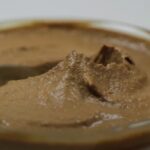
Creating a heart-shaped cake is a delightful way to add a touch of love and care to your baking. Baking is an art that combines creativity, precision, and a dash of love, especially when it’s themed around affectionate symbols.
This confection, sculpted into a universally recognized emblem of love, goes beyond just a sweet treat; it becomes a gesture, a message without words. Ideal for various celebratory occasions, it holds the power to convey deep sentiments, making it more than just a dessert on the table.
Get the Right Ingredients and Tools
For the base, any preferred recipe can be used – from a fluffy vanilla sponge to a rich, moist chocolate layer. Essential ingredients typically include flour, sugar, eggs, butter, baking powder, and flavorings like vanilla extract or cocoa powder, depending on the recipe’s requirements. Alongside the ingredients, the right tools are paramount.
A mixer, either stand or hand-held, is key for blending the ingredients into a smooth, airy batter. Accurate measuring tools – cups and spoons – are necessary to ensure the correct proportions. Mixing bowls, a spatula, and a whisk also form part of the basic toolkit.
Essential Tools and Ingredients for a Heart-Shaped Cake
| Tools | Ingredients |
|---|---|
| Mixer (stand or hand-held) | Flour |
| Measuring cups and spoons | Sugar |
| Mixing bowls | Eggs |
| Spatula | Butter |
| Whisk | Baking powder |
| Heart-shaped cake pan (or round and square pans) | Vanilla extract or cocoa powder |
| Oven thermometer (optional) | Frosting and decorations (optional) |
Preparing the Batter
Creating the perfect batter is crucial for a delicious and visually appealing cake. Here’s a step-by-step guide:
- Choose Your Recipe: Start with your chosen recipe – a simple vanilla, decadent chocolate, or any other flavor.
- Measure Ingredients: Accurately measure all ingredients using measuring cups and spoons. Precise measurements are key to baking success.
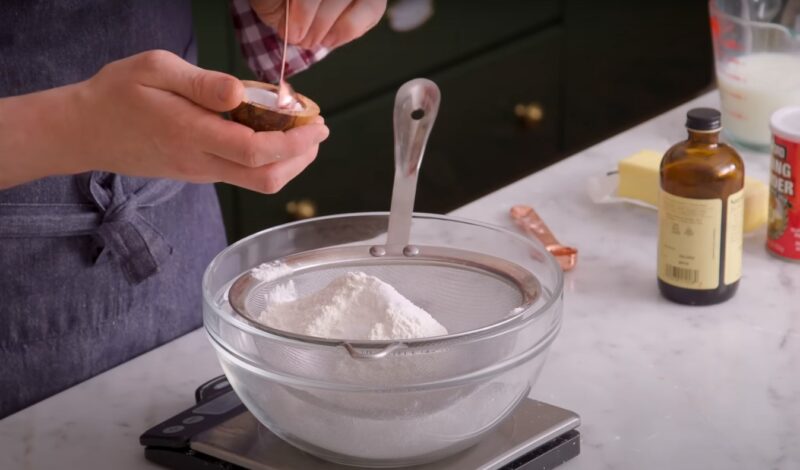
- Mix Dry Ingredients: In one bowl, sift together the dry ingredients like flour, baking powder (and cocoa powder if making a chocolate cake). This ensures a uniform mixture without lumps.
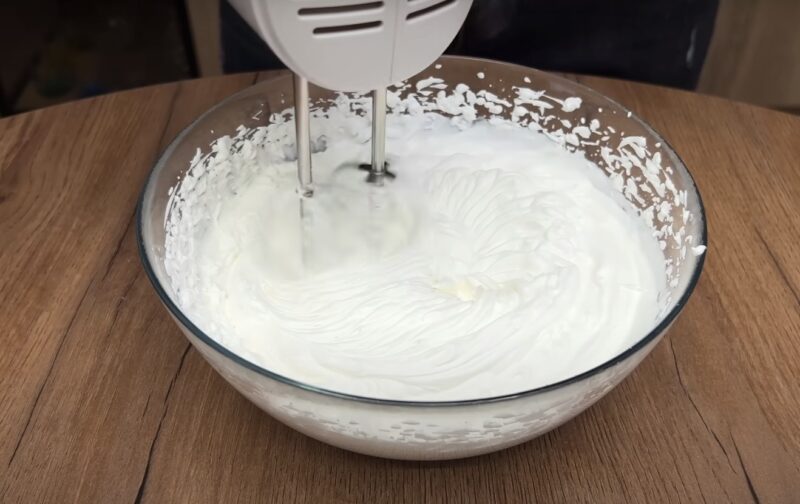
- Cream Butter and Sugar: In another bowl, cream the butter and sugar until the mixture is light and fluffy. This process incorporates air into the batter, making the cake light.
- Add Eggs: Beat in the eggs one at a time. Ensure each egg is fully incorporated before adding the next.
- Combine Mixtures: Gradually add the dry ingredients to the wet mixture. Alternate with the liquid (milk, buttermilk, or water), starting and ending with the dry ingredients.
- Add Flavorings: Stir in flavorings like vanilla extract. Be careful not to overmix, as this can lead to a dense cake.
- Final Consistency: The batter should be smooth, without lumps, and of a pourable consistency.
The Baking Process
The baking process is where the magic happens, transforming your batter into a delightful treat. Here’s a guide that will help you even if you are baking for the first time.
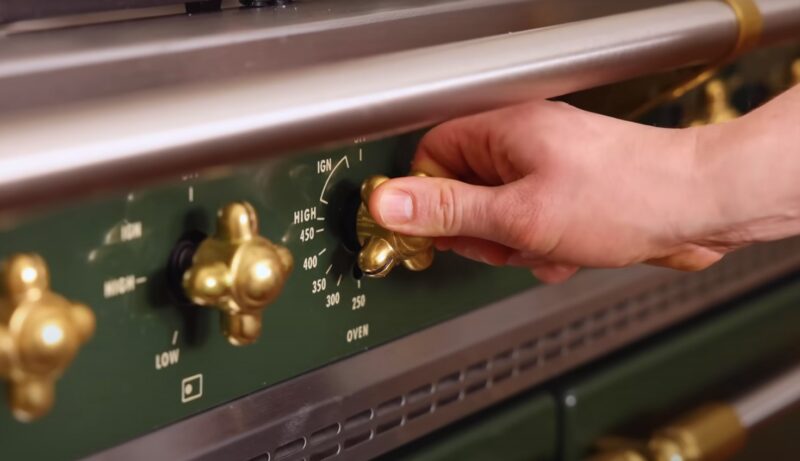
- Preheat Oven: Start by preheating your oven to the temperature specified in your recipe. A consistent temperature is vital for even baking.
- Prepare the Pan: If using a heart-shaped pan, grease and flour it or line it with parchment paper. For alternative shaping using round and square pans, prepare both.
- Pour the Batter: Carefully pour the batter into the prepared pan, filling it evenly. If using two pans to create the heart shape, divide the batter accordingly.
- Smooth the Surface: Gently tap the pan on the counter to release any air bubbles. Use a spatula to smooth the surface for even baking.
- Bake: Place the pan in the center of the oven. Baking times may vary, so it’s important to check the recipe and use a timer.
- Test for Doneness: Check doneness by inserting a toothpick into the center. It should come out clean or with a few crumbs attached. Another sign is when the edges start to pull away from the pan.
- Cooling: After removing from the oven, let it cool in the pan for a specified time, usually 10-15 minutes. This step is crucial for the structure to set.
- Unmolding: Carefully turn the pan upside down onto a wire rack and gently tap to release. If using two pans for shaping, remove each piece and allow to cool completely.
- Trimming (if necessary): For pans used to create the heart shape, you may need to trim the cakes to fit together perfectly. Use a serrated knife for clean cuts.
- Assembly for Alternative Pans: If you’ve used a round and square pan, cut the round cake in half to form the top lobes of the heart and position them alongside the square piece.
- Further Cooling: Let the assembled shape cool completely before frosting. This ensures the frosting spreads easily and doesn’t melt.
Can You Create the Same Shape Without a Heart-Shaped Pan?
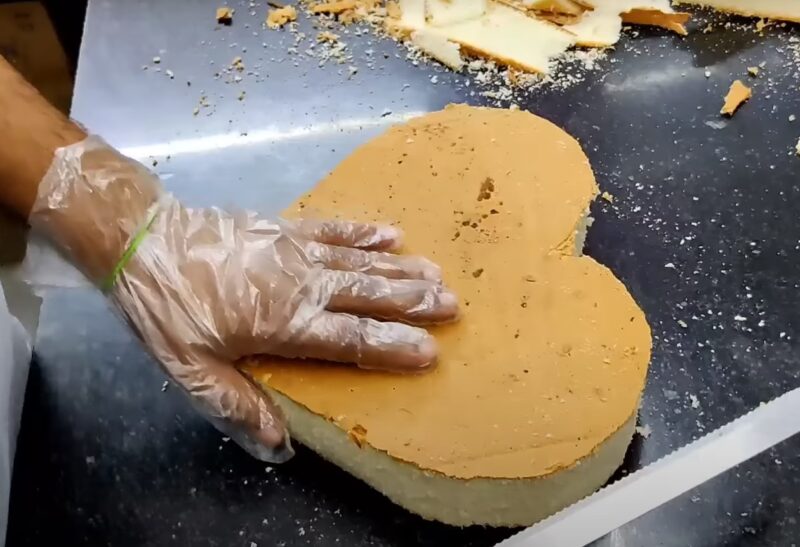
For those who do not have a specialized pan, shaping your baked creation into the symbol of affection is still very achievable with a bit of ingenuity. The process involves using a standard round and square pan. The key is in how you cut and arrange the pieces post-baking.
- Begin with the square and round baked goods. Once they are cooled, the round one should be sliced in half to create two semi-circles. These halves will form the top of your design, mimicking the iconic curves. The square piece acts as the lower part, and its positioning is crucial for the overall appearance.
- Place the square piece on a flat surface with one of its corners facing upwards, resembling a diamond shape. This corner becomes the bottom point. Then, take each semi-circle and place it on the top two sides of the square. The straight edges of the semi-circles should align with the top sides of the square. This assembly creates a remarkably accurate shape.
- The success of this method lies in the precision of the assembly. It’s important to ensure that the pieces are aligned correctly and the joints are snug. Once assembled, a thin layer of frosting can be used as a ‘glue’ to secure the pieces together. This step not only enhances the stability but also prepares the surface for a more comprehensive layer of frosting.
- The charm of this method is its simplicity and accessibility. It allows bakers to create a thematic dessert without the need for special bakeware. This approach is not only practical but also adds an element of creativity to the baking process, making the final product even more satisfying.
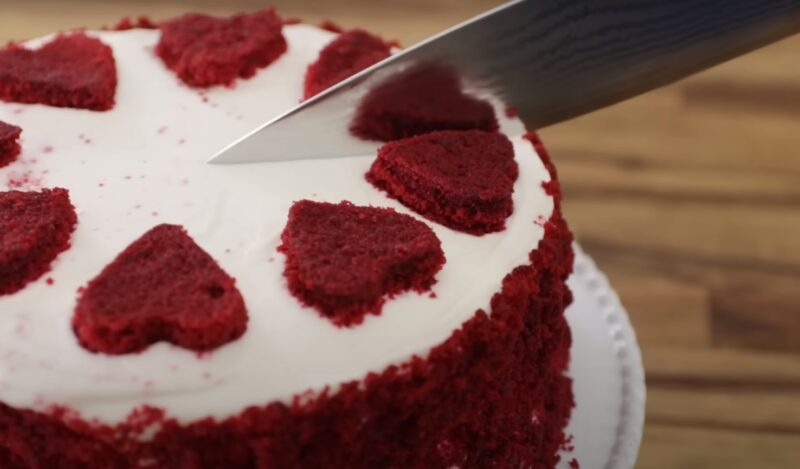
How to Decorate Your Heart-Shaped Cake?
After your cake has cooled and is assembled into the desired shape, it’s ready to be adorned. This is an opportunity to personalize the cake, whether it’s for a special occasion or just a heartfelt gift. The choice of frosting, be it buttercream, whipped cream, or fondant, sets the stage. From there, the use of colors, piping techniques, edible decorations like sprinkles, fruit, or flowers, and even fondant shapes or lettering can transform the cake into a bespoke work of art.
Top Decoration Ideas for Your Cake
| Decoration Type | Description |
|---|---|
| Frosting Techniques | Use buttercream or whipped cream with piping bags and tips to create rosettes, stars, or swirls for a classic look. |
| Edible Decorations | Add sprinkles, edible pearls, or chocolate shavings for texture and color. Edible glitter or gold leaf can add a luxurious touch. |
| Fresh Fruits | Top with fresh berries, sliced fruits, or citrus zest for a refreshing and natural decoration that complements the cake’s flavor. |
| Edible Flowers | Decorate with edible flowers for a romantic and elegant appearance. Ensure the flowers are food-safe and pesticide-free. |
| Fondant Accents | Use fondant to create shapes, letters, or figures. This is especially popular for themed or personalized cakes. |
| Chocolate Ganache or Glaze | Pour over a rich dark or white chocolate ganache or a glaze for a sleek finish. Can be combined with other decorations for contrast. |
Additional Tips and Tricks
Mastering the art of baking and decorating requires not just following recipes but also knowing a handful of additional tricks that can elevate the entire experience. Here are some insights to avoid mistakes and ensure the best results each time.
- Do Not Overmix: Overmixing the batter can lead to a dense and chewy texture. Mix just until the ingredients are combined.
- Tap to Release Air Bubbles: Gently tapping the pan on the counter before baking helps release air bubbles, which can cause uneven baking.
- Use a Turntable for Easy Decorating: A turntable makes it easier to apply frosting evenly and add detailed decorations.
- Store Properly: If not serving immediately, store in an airtight container or cover to prevent drying out.
FAQs
Can I make a heart-shaped cake without a mixer?
Yes, you can make a heart-shaped cake without a mixer. The key is to ensure that the butter and sugar are well-creamed, and the ingredients are well-incorporated. This can be done with a whisk and some elbow grease, though it might take longer and require more effort than using a mixer.
How do I prevent my cake from sticking to the pan?
To prevent sticking, thoroughly grease the pan with butter or non-stick spray and then dust it lightly with flour. Alternatively, you can line the bottom of the pan with parchment paper for an easier release after baking.
What’s the best way to get a bright red color in a red velvet cake?
For a vibrant red color in a red velvet cake, use high-quality gel food coloring rather than liquid food coloring. Gel coloring is more concentrated and provides a deeper color without altering the batter’s consistency.
How can I make my cake more flavorful?
To enhance the flavor, consider adding zest from citrus fruits like lemon or orange to the batter. Spices such as cinnamon or nutmeg can also add depth, depending on the cake flavor. Extracts like almond or coconut are other great options.
Can I make this cake ahead of time and freeze it?
Yes, you can bake the cake ahead of time and freeze it. Wrap the cooled layers in plastic wrap and then aluminum foil before freezing to maintain freshness. Thaw in the refrigerator a day before you plan to decorate and serve it.
Last Words
Creating a heart-shaped cake is a delightful and creative baking project, perfect for special occasions or as a heartfelt gesture. Remember to take your time, enjoy each step, and don’t shy away from adding your unique touch.
The end result, a beautifully crafted and flavorful treat, is sure to bring joy and smiles, making all your effort worthwhile. Happy baking!
Hi, I’m Dean Terry, and cakes are my life! I’ve spent over a decade perfecting the art of creating cakes that not only look incredible but taste unforgettable. What started as a hobby in my own kitchen quickly turned into a full-on passion, and now I get to craft one-of-a-kind cakes for weddings, birthdays, and big celebrations.
For me, it’s all about the details—whether I’m designing an elegant buttercream finish or a crazy multi-tiered cake with wild designs, I make sure each cake tells a story. I’m always experimenting with flavors and techniques, because why settle for the ordinary when you can create something extraordinary?
When I’m not up to my elbows in frosting, you’ll probably find me teaching others how to bake or dreaming up my next big cake challenge. If there’s one thing I believe, it’s that every great celebration deserves a cake that’s as special as the moment itself!