Ingredients
Equipment
Method
- Melting the ChocolateMethod 1: Microwave (Quick & Easy)Break chocolate into small, even pieces.Place in a microwave-safe bowl.Microwave on medium power for 30 seconds, then stir.Continue heating in 20–30 second bursts, stirring in between.When about 80% melted, remove and stir until fully smooth.Method 2: Double Boiler (Controlled & Traditional)Simmer 1 inch of water in a saucepan.Set a heatproof bowl on top (not touching the water).Add chocolate to the bowl.Stir occasionally until melted and glossy.Remove from heat and stir smooth.

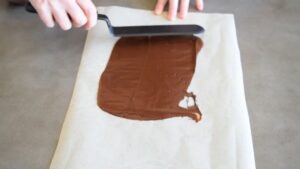
- Spreading the ChocolateLine a baking sheet with parchment paper or a silicone mat.Pour melted chocolate into the center of the sheet.Use an offset spatula or spoon back to spread it thin or thick—your choice.Keep edges rustic or smooth them for uniform shards.While still soft, add optional toppings if desired.Let set at room temperature or refrigerate for 10–15 minutes until fully hardened.
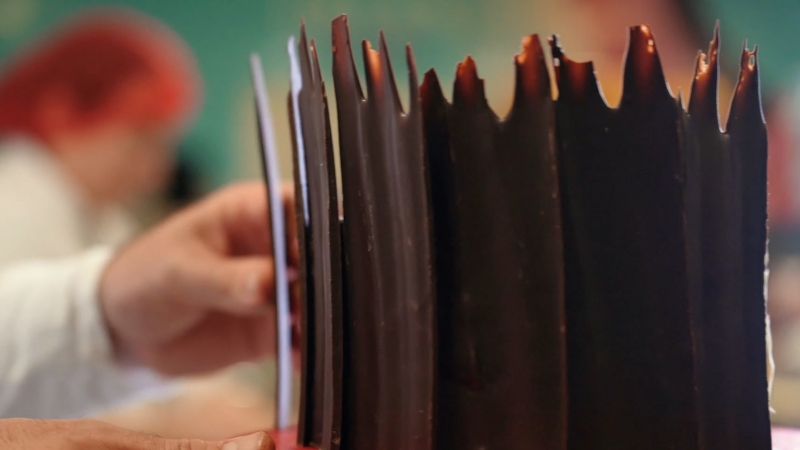
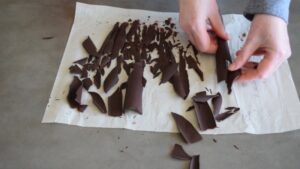
- Breaking Into ShardsOnce set, peel chocolate off the parchment/mat.Break by hand for rustic shards, or use a sharp knife for cleaner edges.Store shards in an airtight container at room temp (or fridge if warm).
Video
Notes
Cooking Tips
- Make sure your tools are completely dry—even a drop of water can ruin melted chocolate.
- Thin spreads = delicate shards. Thicker layers = chunky bites. Choose your texture.
- Add toppings right away while the chocolate is still melted.
- Don’t stress over looks—rustic shards are charming too.
- For glossy shards and long shelf life, temper your chocolate (optional, but pro-level!).